
Caring for Old Wooden Furniture Without Harsh Chemicals

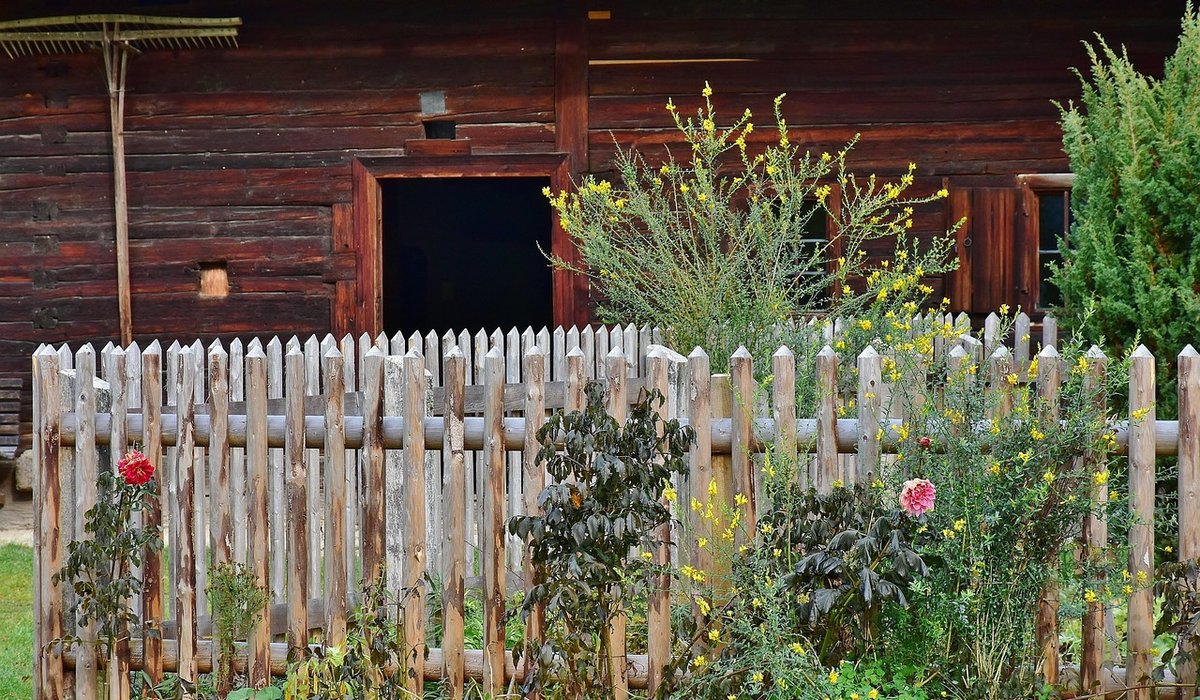
Old Wood Rewards a Light Touch
There is something quietly satisfying about running a cloth over a table that has been in the family for three generations. The wood has darkened, softened and taken on a depth of colour that no modern finish can imitate. That patina is not dirt, and it is not damage — it is the accumulated record of every meal, every polish and every pair of hands that has rested there.
Which is exactly why the harshest products in the cupboard should stay there. Spirit-based sprays, silicone polishes and abrasive cream cleaners strip away the very thing that makes old furniture worth keeping. Restoring a piece properly is slow, gentle work, and most of the time the right answer is simply a clean cloth, a little beeswax and twenty minutes of patience.
Work Out What You Are Actually Cleaning
Before you touch a cloth to anything, identify the finish. Old furniture in Britain usually falls into one of four groups, and they respond differently to moisture and solvents.
- Waxed wood — a soft, low sheen, warm to the touch, often on country pieces and pine. Feels slightly tacky in warm weather and marks easily with water.
- Oiled wood — similar in appearance but sits deeper in the grain, often on oak and teak. Feels dry rather than waxy when it needs feeding.
- French polish — a glossy, glassy surface built up from shellac. Beautiful, and easily ruined by alcohol, vinegar and water rings.
- Varnish or lacquer — a harder, more sealed surface, usually twentieth-century. More forgiving, but can lift at the edges with solvents.
If you are unsure, test in an unseen spot underneath or at the back. A drop of white spirit on a cotton bud will soften wax and oil, cloud shellac and do very little to modern varnish. Wait a minute before you draw conclusions.
Everyday Cleaning Without Chemicals
Most old furniture does not need polishing at all — it needs dusting. A weekly pass with a soft, dry cloth removes the grit that slowly scratches a surface, and it takes less time than mixing up a polish.
Use a lint-free cloth, an old cotton tea towel or a soft brush for carved details and turned legs. Work with the grain, and be gentle around veneer edges and inlay, where lifting begins.
For sticky marks — jam on a chair rail, a smear of grease near a handle — dampen a cloth with lukewarm water and a single drop of mild washing-up liquid. Wring it out until it is barely damp, wipe only the affected patch, then dry immediately with a second cloth. Never let water sit on the surface, and never use vinegar, bleach or spray cleaner on shellac or wax. Water rings and bloomed patches are almost always caused by moisture left too long.
Making and Using a Beeswax Polish
A simple polish made at home outperforms most shop-bought products because you know exactly what is in it. You will need roughly 50g of beeswax — grated or broken into small pieces — and 150ml of pure turpentine or white spirit.
Melt the wax gently in a bowl set over a pan of simmering water, never directly over a flame. Take it off the heat, stir in the spirit, and pour into a clean jar with a lid. It will set to a soft paste as it cools. Label it with the date.
To use it: dip a cloth sparingly, rub the polish into the grain in small circles, and leave it for twenty minutes so the spirit can flash off. Then buff with a clean, dry cloth until the surface feels smooth, not greasy. Little and often is the rule — a thin coat once or twice a year is plenty. Over-polishing builds a sticky layer that attracts dust and dulls the grain.
- Use 0000 grade wire wool with the polish only on bare or heavily marked wood, always working along the grain.
- Keep polish away from gilded mouldings, painted decoration and leather insets.
- Store the jar somewhere cool; beeswax polish keeps for years but can go grainy if it gets warm.
Dealing With the Usual Marks
White rings from a cold glass are the most common complaint, and the easiest to fix. They are usually moisture trapped in the wax, not damage to the wood. Leave the piece in a warm room for a day or two, or wave a hairdryer on its lowest setting a foot away from the surface. Most rings vanish on their own.
For deeper scratches, rub a walnut kernel or a raw brazil nut along the grain — the natural oils darken the exposed wood and disguise the line. Crayon-style wax filler sticks in a matching shade work well for dents, pressed in and buffed level. Candle wax can be used to fill a scratch before colouring over it. If a scratch is white and ragged, it has gone through the finish; stop and consider whether it adds character rather than risk a sanding job you cannot undo.
Simple Habits That Protect Old Pieces
Most wear comes from the room, not the cleaning. Keep furniture away from radiators, direct sun and draughty doors, and try to hold a steady humidity — around 50 per cent suits timber well. Sunlight bleaches and dries; central heating shrinks joints and lifts veneer.
Lift rather than drag chairs, use felt pads under anything that sits on a surface, and wipe up spills promptly. Rotate table runners and mats so the finish fades evenly. Finally, resist the urge to sand and refinish a piece simply because it looks tired. A gentle clean and a thin coat of beeswax will usually bring back everything that matters — and leave the history of the wood intact.

Joeby Ragpa
This template is so awesome. I didn’t expect so many features inside. E-commerce pages are very useful, you can launch your online store in few seconds. I will rate 5 stars.
ReplyAlexander Samokhin
This template is so awesome. I didn’t expect so many features inside. E-commerce pages are very useful, you can launch your online store in few seconds. I will rate 5 stars.
ReplyChris Root
This template is so awesome. I didn’t expect so many features inside. E-commerce pages are very useful, you can launch your online store in few seconds. I will rate 5 stars.
Reply